
Modern devices demand smart setup techniques for peak performance. With an average lifespan of 5.63 years, proper preparation ensures longevity and efficiency. Whether upgrading or starting fresh, structured steps make all the difference.
Professionals prioritize security updates, bloatware removal, and ventilation checks. Amateurs often overlook these, risking data loss or hardware issues. A methodical approach saves time and prevents costly mistakes.
This discussion overlaps with defines central hub modern, especially for readers comparing simple configuring system with similar issues.
Optimized configurations boost speed and protect sensitive information. From login credentials to BitLocker encryption, every detail matters. Investing in professional IT services guarantees seamless operation from day one.
Preparing Your Workspace for Computer Setup
A well-organized workspace ensures smooth setup and long-term performance. Proper spacing and ergonomics reduce strain and improve airflow. Follow these steps to create an ideal environment for your new computer.
Choosing the Right Location for Ventilation and Cable Management
Leave 2–3 inches around the desktop case for airflow. Overheating shortens hardware lifespan and causes performance drops. Avoid cramped spaces near walls or furniture.
Use these tools to manage cable ties and reduce clutter:
| Tool | Best For | Pros |
|---|---|---|
| Velcro Ties | Adjustable setups | Reusable, gentle on wires |
| Plastic Clips | Permanent routing | Durable, low profile |
Unpacking and Inspecting Components
Follow this step to avoid damage:
- Work on an anti-static surface.
- Check each item against the manufacturer’s checklist.
- Document scratches or dents for warranty claims.
Optimal room conditions: 68–77°F (20–25°C) and 40–60% humidity. Store components in original packaging until installation.
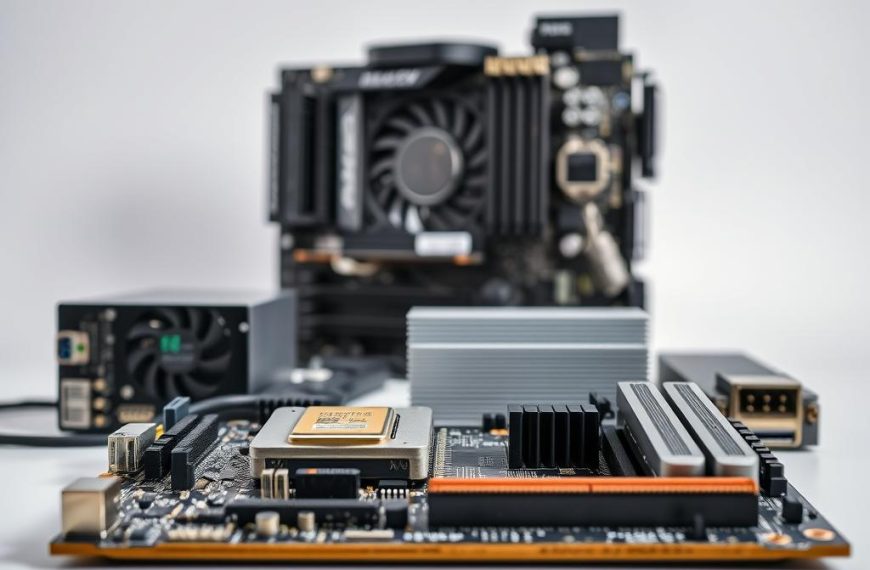
How to Configure a Computer System: Hardware Connections
Efficient device linking minimizes errors and boosts productivity. Start with core peripherals like the monitor, keyboard, and mouse. Modern systems use color-coded ports or wireless protocols for seamless integration.
Connecting the Monitor, Keyboard, and Mouse
Match HDMI or DisplayPort cables to your monitor’s inputs for crisp visuals. HDMI suits multimedia, while DisplayPort excels in high-refresh-rate displays. Wireless devices require dual-band (2.4 GHz/5.0 GHz) adapters for stable connections.

For wired setups, locate the green audio port for speakers and pink for microphones. PS/2-to-USB adapters resolve legacy compatibility issues but may lack plug-and-play functionality.
Power and Peripheral Device Setup
Always connect the surge protector last—rated for at least 1000 joules—to shield against voltage spikes. Follow this sequence:
- Attach peripherals to USB ports.
- Secure cables with Velcro ties to avoid tangling.
- Enable Bluetooth for wireless mice/keyboards.
| Connection Type | Best Use Case | Notes |
|---|---|---|
| HDMI | 4K video/audio | Universal compatibility |
| DisplayPort | Gaming/professional | Supports higher refresh rates |
Multi-monitor setups demand identical cables for uniform performance. Daisy-chaining peripherals via USB hubs reduces clutter but may limit bandwidth.
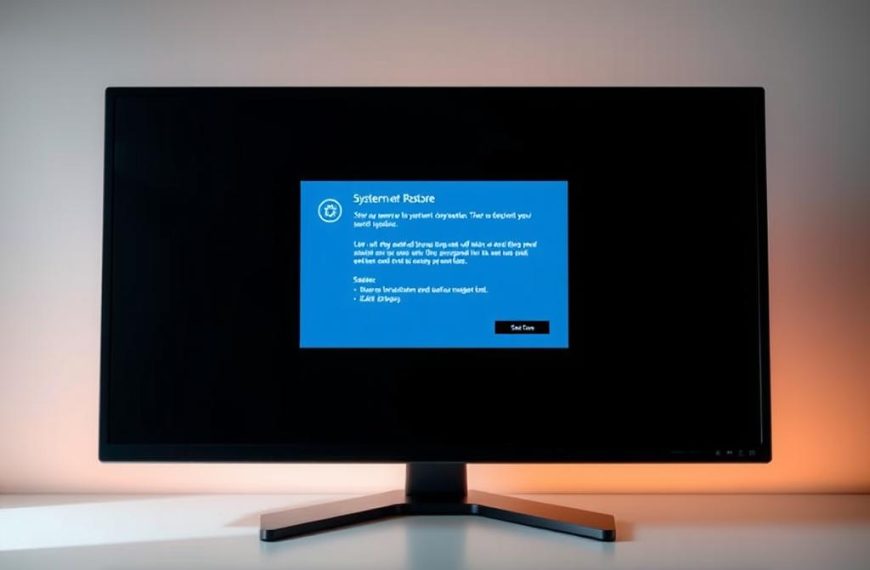
Powering Up and Initial System Checks
Initial diagnostics verify all components function correctly before full operation. The power-on self-test (POST) runs automatically, checking RAM, CPU, and storage. Listen for beeps or watch diagnostic LEDs—these signal hardware status.
BIOS beep codes vary by manufacturer. This table decodes common patterns:
| Beeps | Meaning | Action |
|---|---|---|
| 1 short | Normal POST | Proceed |
| 2 long | RAM failure | Reseat memory |
| Continuous | Overheating | Check fans |
Follow these steps for a smooth first boot:
- Verify fans spin at startup—noise or stillness indicates issues.
- Wait 2–3 minutes for device recognition; delays suggest drive errors.
- Press F2 or Delete to enter BIOS if the screen stays blank.
“POST errors often stem from loose cables or incompatible hardware. Double-check connections before troubleshooting deeply.”
For desktop computers, ensure the power supply switch is on. Emergency shutdowns require holding the button for 5 seconds—use sparingly to avoid data loss.
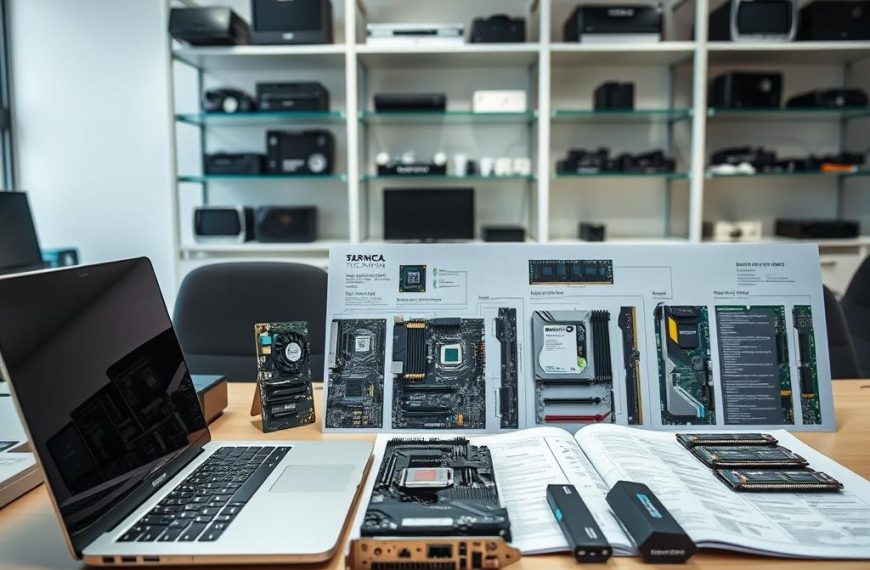
Installing the Operating System
The right process ensures stability and security from day one. Modern operating systems like Windows require precise steps for flawless installation. Preparation avoids common pitfalls like data loss or compatibility issues.

Creating Bootable Media and BIOS Configuration
A USB drive with at least 8GB space works best for bootable media. Tools like Rufus or Microsoft’s Media Creation Tool simplify the process. Always verify the ISO file checksum to prevent corrupted installations.
Key BIOS settings to adjust:
- Enable UEFI mode for faster boot times and GPT partition support
- Disable Legacy BIOS unless required for older hardware
- Activate Secure Boot to block unauthorized firmware
“UEFI revolutionized system booting with security features like Secure Boot. Legacy systems can’t match its protection against rootkits.”
Partitioning Drives and User Account Setup
NTFS remains the top choice for hard drive formatting on Windows. It supports encryption and handles large files efficiently. For dual-boot systems, exFAT offers better cross-platform compatibility.
Follow these partitioning guidelines:
- Allocate 100GB minimum for the system partition
- Create separate partitions for programs and personal files
- Enable BitLocker during setup for full-disk encryption
User accounts demand careful consideration. Local accounts provide privacy, while Microsoft accounts enable cloud sync. Administrator privileges should be restricted post-installation for security.
For detailed guidance on operating system installations, explore professional installation techniques that cover advanced scenarios.
Essential Software Installation for Optimal Performance
Essential programs form the backbone of any efficient system. The right combination of security tools and productivity applications ensures both protection and performance. Careful selection prevents resource drain while maximizing functionality.
Antivirus and Security Tools
Modern threats demand robust protection with minimal system impact. ESET antivirus maintains real-time scanning while using under 150MB RAM—ideal for multitasking systems. Microsoft Security Essentials detects 96% of malware samples in independent tests.
Follow these security best practices:
- Schedule weekly full-system scans during low-usage periods
- Audit browser extensions monthly for suspicious permissions
- Verify driver updates through manufacturer websites only
Productivity and Utility Applications
Ninite revolutionizes batch installations, deploying 20+ programs in under 7 minutes. This tool automatically declines bundled toolbars and adware. Portable apps offer flexibility but may lack automatic update features.
License management prevents legal issues and security gaps:
- Store activation keys in encrypted password managers
- Track renewal dates through calendar alerts
- Document enterprise licenses for audit compliance
“Batch installers save hours while ensuring clean software deployments. Always verify checksums when downloading installation packages.”
For business environments, consider volume licensing for centralized software management. Cloud-based solutions provide version control but require stable internet connections.
Configuring System Settings and Updates
Precision adjustments transform basic setups into high-performance machines. Proper calibration of settings enhances security while optimizing resource allocation. Modern operating systems offer granular controls that professionals leverage for superior results.

Windows Update and Driver Installations
Microsoft releases cumulative updates every second Tuesday (“Patch Tuesday”). These bundles address security vulnerabilities and performance bugs simultaneously. Deferral policies allow enterprise users to test patches before deployment—ideal for mission-critical systems.
Driver management follows three key principles:
- Manufacturer websites provide verified versions—avoid third-party repositories
- Rollback procedures restore previous drivers if compatibility issues arise
- Automatic updates balance convenience with control
Windows Update now handles driver distributions for common hardware. Advanced users may still prefer manual installations for specialized components like RAID controllers or professional GPUs.
Optimizing Power and Display Settings
Balanced power plans extend hardware lifespan while maintaining responsiveness. HDR displays require specific calibration—typically 400 nits brightness and DCI-P3 color space for accurate reproduction.
| Power Plan | CPU Throttling | Best For |
|---|---|---|
| Balanced | Dynamic | General use |
| High Performance | Disabled | Gaming/rendering |
| Power Saver | Aggressive | Mobile devices |
Display refinements include:
- 144Hz+ refresh rates for competitive gaming
- Adaptive brightness preserves battery life
- Sleep states configured to match usage patterns
“Default power plans often favor energy savings over performance. Custom profiles unlock 12-18% better responsiveness for demanding applications.”
Removing Bloatware and Unnecessary Programs
Pre-installed software often consumes valuable resources without providing benefits. Typical bloatware occupies 15-20GB of storage, slowing down operations. Professional removal techniques recover this space while improving system responsiveness.

Manufacturers prioritize their software, but not all components are essential. OEM whitelisting helps identify critical applications like drivers or hardware utilities. Third-party tools like PC Decrapifier automate this process with safe removal presets.
Advanced users leverage PowerShell for silent uninstallation:
Get-AppxPackage *appname* | Remove-AppxPackageremoves Windows Store appswmic product get namelists installed programs- Task Manager reveals startup impact percentages
Residual files often remain after standard uninstalls. Manual cleanup requires checking these directories:
- Program Files and Program Files (x86)
- AppData hidden folders
- Windows Registry entries (use caution)
“Registry cleaners can cause system instability if used improperly. Always create restore points before making changes.”
The control panel offers basic removal options, but dedicated tools provide deeper cleaning. Bulk Crap Uninstaller handles multiple unnecessary programs simultaneously. For maximum safety, disconnect from the internet during removal to prevent automatic reinstalls.
System restore points serve as safety nets for failed cleanups. Enable protection for the C: drive and allocate at least 5% disk space. This precaution allows rolling back changes if critical components get accidentally removed.
Securing Your System with Backups and Data Protection
Reliable data protection prevents irreversible loss and downtime. The average business loses $141 per lost file, making robust strategies essential. Modern solutions combine automation with multiple storage layers for comprehensive coverage.
Cloud vs. Local Backup Solutions
Hybrid approaches leverage both cloud services and physical drives. Carbonite offers incremental backup every 15 minutes—ideal for dynamic files. Local storage on hard drives provides instant access without internet dependency.
Follow the 3-2-1 rule for maximum resilience:
- 3 total copies of critical files
- 2 different storage mediums
- 1 offsite location
| Solution | Recovery Speed | Best For |
|---|---|---|
| Cloud Storage | Moderate (depends on bandwidth) | Remote teams, small files |
| External Drives | Immediate | Large media files, local access |
| RAID Arrays | Instant (for mirrored setups) | Mission-critical systems |
“Versioning systems preserve up to 30 file revisions in services like Dropbox. This feature becomes invaluable when recovering from ransomware attacks.”
Automating Backup Processes
Scheduled tasks eliminate human error in data preservation. Windows Task Scheduler can initiate nightly backups to network-attached storage. Verification protocols should run weekly to confirm backup integrity.
Key automation considerations:
- Cold storage for archival purposes (tape drives)
- Hot storage for frequent access (SSD arrays)
- Disaster recovery drills every quarter
Encryption management follows strict protocols:
- BitLocker for full-disk protection
- Separate storage for encryption keys
- Two-person approval for critical restores
Conclusion: Mastering Your Computer Setup
Achieving optimal performance starts with mastering your setup. Professional methods cut configuration time by 40%, letting you focus on productivity.
Regular maintenance ensures longevity. Tools like CPU-Z or HWMonitor track hardware health. Forums like Microsoft Community offer peer support for troubleshooting.
Plan upgrades wisely—SSDs boost speed, while RAM enhances multitasking. Track warranties and consult expert services for complex issues.
With these strategies, your system delivers peak efficiency for years. Stay proactive to maintain its edge.
FAQ
What should I check before setting up a new desktop computer?
Ensure all components like the monitor, keyboard, mouse, and cables are present. Verify proper ventilation and workspace organization for better cable management.
How do I connect peripherals to my new computer?
Plug the monitor into the GPU or motherboard port. Attach the keyboard and mouse to USB ports. Connect speakers and other devices to their respective slots.
Why is my monitor not displaying anything after powering on?
Check cable connections between the monitor and GPU. Ensure the power supply is functional. Verify the correct input source is selected on the display.
How do I install Windows on a new system?
Create a bootable USB drive using Microsoft’s Media Creation Tool. Enter BIOS, set the USB as the primary boot device, and follow on-screen instructions.
What essential software should I install first?
Prioritize antivirus tools like Bitdefender or Norton. Install productivity apps such as Microsoft Office and browser utilities like Chrome or Firefox.
How often should I update my drivers and Windows?
Enable automatic updates in Windows Update for security patches. Check manufacturer websites monthly for GPU, motherboard, and peripheral driver updates.
What’s the best way to remove bloatware?
Use Windows’ “Add or Remove Programs” tool to uninstall unnecessary pre-installed apps. Third-party tools like Revo Uninstaller can ensure complete removal.
Should I use cloud or local backups for data protection?
Cloud backups (Google Drive, OneDrive) offer remote access. Local backups (external hard drives) provide faster recovery. Use both for redundancy.
How do I optimize power settings for performance?
In Control Panel, select “High Performance” mode. Adjust sleep settings to balance energy use and responsiveness based on your needs.
Can I reuse old hard drives in a new setup?
Yes, but format them first to avoid conflicts. Ensure compatibility with your motherboard’s SATA or NVMe slots before installation.

 By
By
 By
By